Simple Sensory Tunnel Ideas for Indoor Playtime

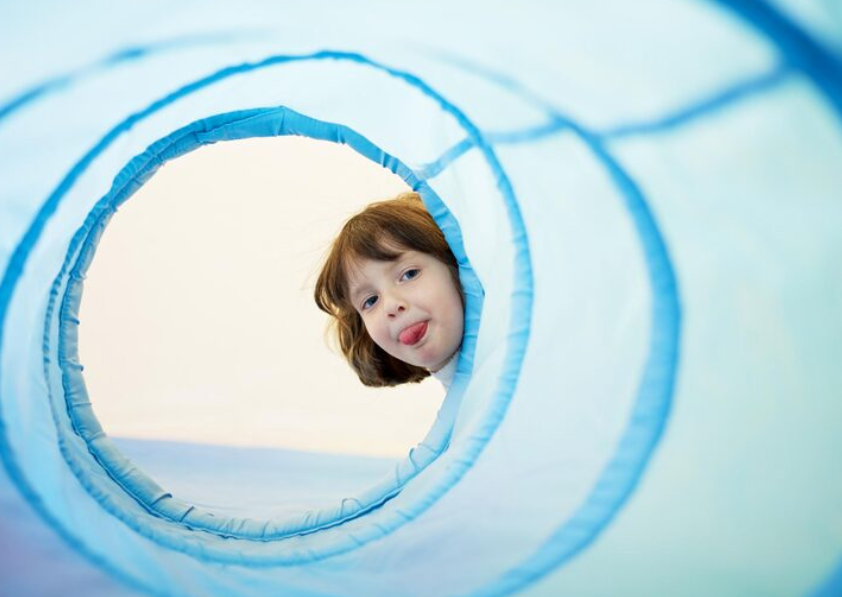
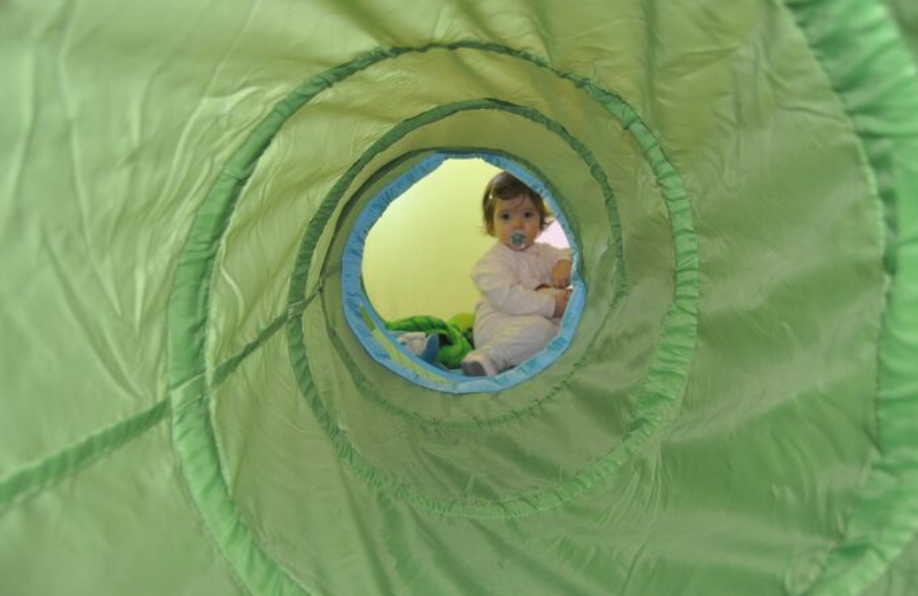
You can turn a rainy day into an adventure with a sensory tunnel right in your living room. Grab a few chairs, drape some blankets, and you have a tunnel ready for crawling, rolling, or even quiet time. Sensory tunnels, like a Pop Up Tunnel or a Lycra Sensory Tunnel, work well for children ages 3 and up. Just keep an eye on younger kids for safety. Sensory play like this helps children balance better and move with more control. Crawling through tunnels also boosts spatial awareness and strengthens both fine and gross motor skills.
Key Takeaways
Sensory tunnels help kids build motor skills. Crawling and rolling in tunnels make muscles stronger. They also help kids balance better.
Make sure the sensory area is safe. Use soft things and different textures inside the tunnel. This helps match your child's sensory needs.
Add movement breaks during play. Let kids use the tunnel for quick activities. This helps them reset and focus when playing inside.
Support creativity and independence. Let your child pick how to play in the tunnel. This helps them feel confident and solve problems.
Make sensory play part of every day. Add tunnel activities to daily plans. This helps kids control emotions and learn better.
Sensory Tunnel Benefits
Motor Skills
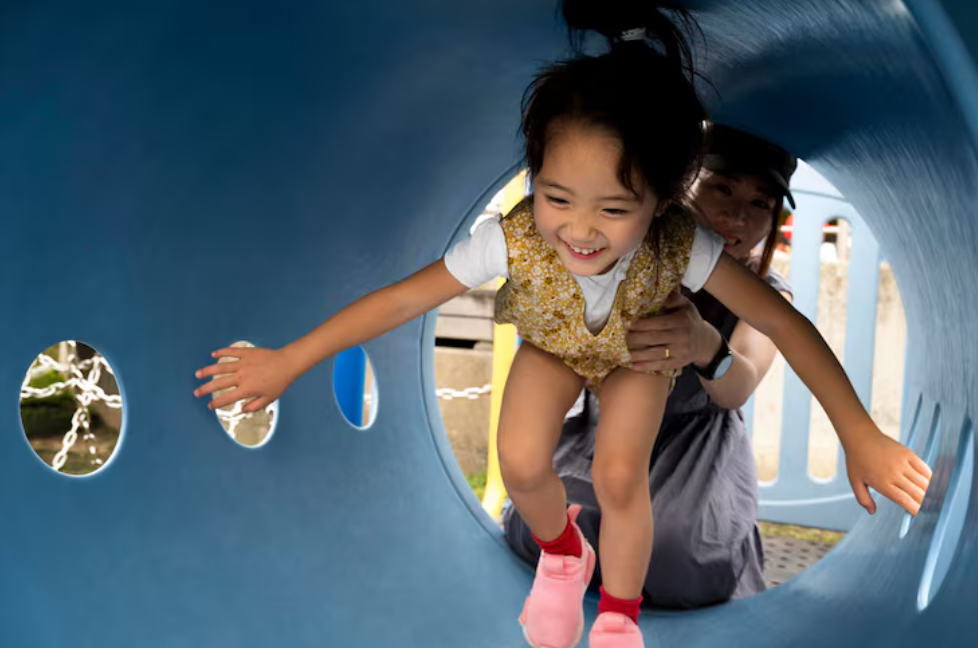
Setting up a sensory tunnel at home is fun. It helps your child build strong muscles. Kids crawl, scoot, and roll through the tunnel. These moves use their arms, legs, and core. Tunnel play makes upper body strength better. It also helps kids balance. You may see your child climb or jump better after tunnel play. They might even sit still longer. Over time, kids learn more about where their bodies are. They figure out how to move in new ways.
Doing tunnel activities often can:
Make arms, legs, and core muscles stronger
Help with balance and coordination
Grow spatial awareness
Sensory Input
A sensory tunnel is a safe place for sensory play. Kids crawl through and feel different textures and pressures. This helps with sensory processing. Some kids need extra movement or touch to feel calm. Tunnel play gives them the right amount of sensory input. You can put soft blankets, pillows, or crinkly paper inside. These things make each tunnel trip feel new and fun.
Tip: Change up what you put in the tunnel. This keeps it fun and helps meet your child’s sensory needs.
Movement Breaks
Kids need to move, especially when stuck inside. Sensory tunnel play lets them take breaks from sitting. You can use the tunnel for quick movement breaks. Try it between homework or chores. Short bursts of activity help kids reset and focus. For kids with sensory challenges, tunnel play can help with emotions. It also helps them adapt to changes. Over time, you may see your child feel calmer and ready to learn after tunnel play.
Using a sensory tunnel often can lead to:
Improved thinking skills
More adaptability for kids with sensory challenges
DIY Sensory Tunnel

Materials Needed
You probably have everything you need for a diy sensory tunnel right at home. You can use simple items to create a fun and safe space for tunnel activities. Here are some cost-effective materials you can gather:
Blankets or sheets
Chairs or stools
Toilet paper rolls
Egg cartons
Construction paper
Socks filled with bells or crinkly paper
Bubble wrap or textured shower curtains
Pillows
Mirrors or photos for the sides
You can mix and match these items to make your tunnel unique. Try adding different textures and sounds to keep your child interested.
Product Type | Price Range | MOQ | Review Score |
|---|---|---|---|
Pop up Collapsible Tunnels | 1000 | 5.0 | |
Basic pop-up tunnels | $2.58-$2.88/pc | 500 | N/A |
4-Way Collapsible Tunnels | $4.59-$4.87/set | 500 | N/A |
Setup Steps
You can set up a diy sensory tunnel in just a few minutes. Follow these steps to get started:
Find a safe space in your living room or playroom.
Place chairs in a row, leaving enough space for your child to crawl through.
Drape blankets or sheets over the chairs to form the tunnel.
Add pillows, bubble wrap, or textured items inside for extra sensory input.
Tape construction paper or egg cartons to the sides for more texture.
Place mirrors or photos along the tunnel walls to make it more engaging.
Make sure the tunnel is sturdy and won’t collapse during tunnel activities.
You can adjust the tunnel size to fit your space. For children ages 3 and up, try to follow these recommended dimensions:
Dimension Type | Size (inches) | Size (mm) |
|---|---|---|
Overall Size | 1890 x 1200 x 1050 | |
Opening Size | 18.9 x 16.5 | 480 x 420 |
If you want to make the tunnel longer, just add more chairs and blankets. You can also change the textures inside to match your child’s sensory needs.
Safety Tips
Safety comes first when you build a diy sensory tunnel. Here are some tips to keep playtime safe and fun:
It is important to have another child or adult hold one end of the tunnel open so that the child can see the light at the other end, which can help prevent fear. Additionally, always follow the child's lead and be attentive to any signs of discomfort, stopping the activity immediately if they seem unsure.
Use non-toxic materials and avoid small parts for younger children.
Label bins with pictures so your child can choose materials and help clean up.
Create separate zones for different types of play to help your child feel comfortable.
Clean the tunnel materials often to keep the play area hygienic.
Always supervise tunnel activities, especially with younger kids.
You can make your sensory tunnel a safe and happy place for your child. Watch for signs that your child feels unsure or scared. If you see any discomfort, stop the activity and try again later. Your child will enjoy tunnel activities more when they feel safe and supported.
Sensory Tunnel Play Ideas

Obstacle Course
You can turn your sensory tunnel into the star of an indoor obstacle course. Kids love crawling through tunnels, weaving around pillows, and jumping over soft blocks. Try adding a “follow the leader” game or ask your child to crawl through and match objects or sort colors at the end. These tunnel activities challenge balance and coordination. When your child crawls, jumps, or spins, they use their vestibular system. This helps with sensory processing and body awareness. You might notice your child feeling more focused and calm after a few rounds.
Tip: Pretend the tunnel is a secret cave or hideout. Add a flashlight or glow sticks for extra fun and visual input.
Rolling Activities
Rolling is a favorite for many kids. Lay out a soft mat or blanket inside the tunnel. Encourage your child to roll a ball or even roll their own body through the tunnel. These tunnel activities help build gross motor skills and boost confidence. Rolling and crawling both support proprioception and spatial orientation. Your child learns how their body moves in space. You can also push toy cars or balls through the tunnel for a different kind of sensory play.
Try these rolling ideas:
Roll a ball back and forth through the tunnel
Crawl to retrieve objects placed inside
Use large foam mats to make a longer rolling path
Calming Play
Sometimes, kids need a quiet break. The sensory tunnel can become a cozy spot for calming play. Fill the tunnel with soft pillows, textured blankets, or even bubble wrap. Add a glitter jar or a small bubble tube for soothing visual effects. These items help children relax and reset. You can encourage mindful crawling or quiet time inside the tunnel. Some kids like to play peek-a-boo at each end or just lay down and listen to calming music.
Note: If your child feels unsure about new textures, start with familiar items. Slowly introduce things like kinetic sand or shaving cream using gloves or utensils.
You can always adapt these ideas for different ages. Let your child lead the way and get creative with new games. Sensory tunnel play supports sensory processing, movement, and imagination all at once.
Sensory Play Tips
Age Adaptations
You can change sensory tunnel activities for any age. Little kids may like to crawl or roll. Older kids might want harder challenges. Occupational therapists say to pick activities that fit your child’s age and needs. Here is a quick chart you can use at home:
Strategy | Purpose/Benefit |
|---|---|
Playdough Creations | Helps fine motor skills and sensory tolerance |
Music Sessions | Improves listening and helps with emotions |
Swinging | Wakes up the vestibular system and helps calmness |
Obstacle Challenges | Makes spatial awareness and movement skills better |
Weighted Blankets | Helps kids with SPD relax and sleep better |
You can check your child’s progress with easy games. Try races, crawling on bubble wrap, or chasing a ball in the tunnel. These activities show how your child’s skills get better over time.
Encouraging Independence
Letting your child choose what to do builds confidence. When you give choices, kids learn to trust themselves. They also try new things. Here are some good things you may see:
Kids get better at moving and doing things alone.
Children learn balance and movement by doing hands-on activities.
Set up the tunnel and let your child pick how to play. Maybe they want to crawl, roll, or bring a favorite toy. This freedom makes them feel proud and in control.
Tip: Watch for times when your child solves a problem or tries something new. Celebrate these moments together!
Routine Ideas
Adding sensory play to your daily routine helps a lot. You can start the day with a tunnel crawl. Or use it as a break after school. Experts say to add water play, messy play, or scented playdough for more fun. Make an obstacle course with pillows, boxes, and tunnels. This helps your child move their whole body and manage feelings.
Scented playdough can help your child feel calm and focused.
Obstacle courses with tunnels help with movement and sensory skills.
Sensory tunnels give deep pressure, which helps kids feel calm. Crawling through the tunnel can help your child handle emotions and get ready for what comes next.
Sensory tunnels are not just for fun. They help your child get stronger. Your child can focus better and learn about feelings. Here are some important benefits:
Benefit | Description |
|---|---|
Emotional Regulation | Kids learn how to handle feelings and stay calm. |
Empathy and Compassion | Children begin to care about how others feel. |
Positive Relationships | Playing together helps teamwork and talking skills. |
Mindfulness | Kids pay attention to what is happening right now. |
Get some blankets and chairs. Make a tunnel today. See your child play, learn, and feel proud!
FAQ
What age is best for a play tunnel?
You can introduce a play tunnel to kids as young as 3 years old. Always supervise younger children. Older kids enjoy it too. The play tunnel grows with your child’s interests and skills.
How do I clean a play tunnel made from household items?
You can wash blankets and pillow covers in the laundry. Wipe down chairs and plastic parts with a damp cloth. If your play tunnel uses paper or cardboard, replace those parts when dirty.
Can I use a play tunnel for calming activities?
Yes! You can fill your play tunnel with soft pillows or blankets. Add calming lights or music. Many kids find quiet time in a play tunnel helps them relax and reset.
How do I make a play tunnel more challenging?
Try adding obstacles inside the play tunnel. Place soft blocks, balls, or textured mats along the path. You can also create a longer play tunnel by connecting more chairs and blankets.
Is a play tunnel safe for indoor play?
A play tunnel is safe when you supervise your child. Make sure the tunnel stays sturdy and clear of sharp objects. Check that your play tunnel does not block exits or walkways.
See Also
Easy Strategies to Create a Sensory Space
Innovative Ideas to Boost Learning Using Sensory Mats
A Comprehensive Resource for Sensory Play Activities
