Never Miss These Sensory Box Secrets
Ready to make your own sensory bin? You only need a good container, safe fillers, and tools that fit your age. Sensory play is fun and helps kids learn. So get some homemade sensory bins and try new ideas. You can use easy sensory bins for fun activities. Or you can use a quick start sensory bin guide for more ideas. With easy diy steps, you can make a sensory box that everyone will love.
Key Takeaways
Pick a strong and safe box for your sensory bin. Make sure it has smooth edges and is see-through to make play better.
Pick fillers that fit your child’s age and have different feels and colors. Use safe things like rice, beans, or soft toys for little kids.
Add tools like cups and scoops to help your child explore. These tools also help with small hand movements. Choose tools that fit your child’s age so they enjoy playing more.
Change the themes and items in your sensory bins every few weeks. This makes play new and fun, so your child does not get bored.
Keep play safe by using materials that are not toxic and watch your child while they play. Always look out for small things that could be a choking risk.
How To Make A Sensory Bin
Creating a sensory bin at home is easier than you think. You just need a few simple steps and a little creativity. If you want to know how to make a sensory bin, start with the basics and build from there. This quick start sensory bin guide will help you get started.
Choosing The Right Container
The first step in how to make a sensory bin is picking the right container. You want something sturdy and safe. Most people use plastic bins because they are easy to clean and come in many sizes. You can also try festive tins or see-through bins for a fun twist. Occupational therapists suggest using containers with different shapes and materials. This gives children more sensory input. You can even use weighted bins filled with rice or beans for deep pressure play.
Here are some tips for choosing your container:
Pick a bin that is big enough for your child’s hands to move around.
Look for smooth edges to keep little fingers safe.
Try containers with lids for easy storage.
Use clear bins so kids can see what’s inside.
For outdoor play, use a large tub or even a kiddie pool.
Tip: If you want to add more sensory play, try using containers with different textures like metal, plastic, or even wood.
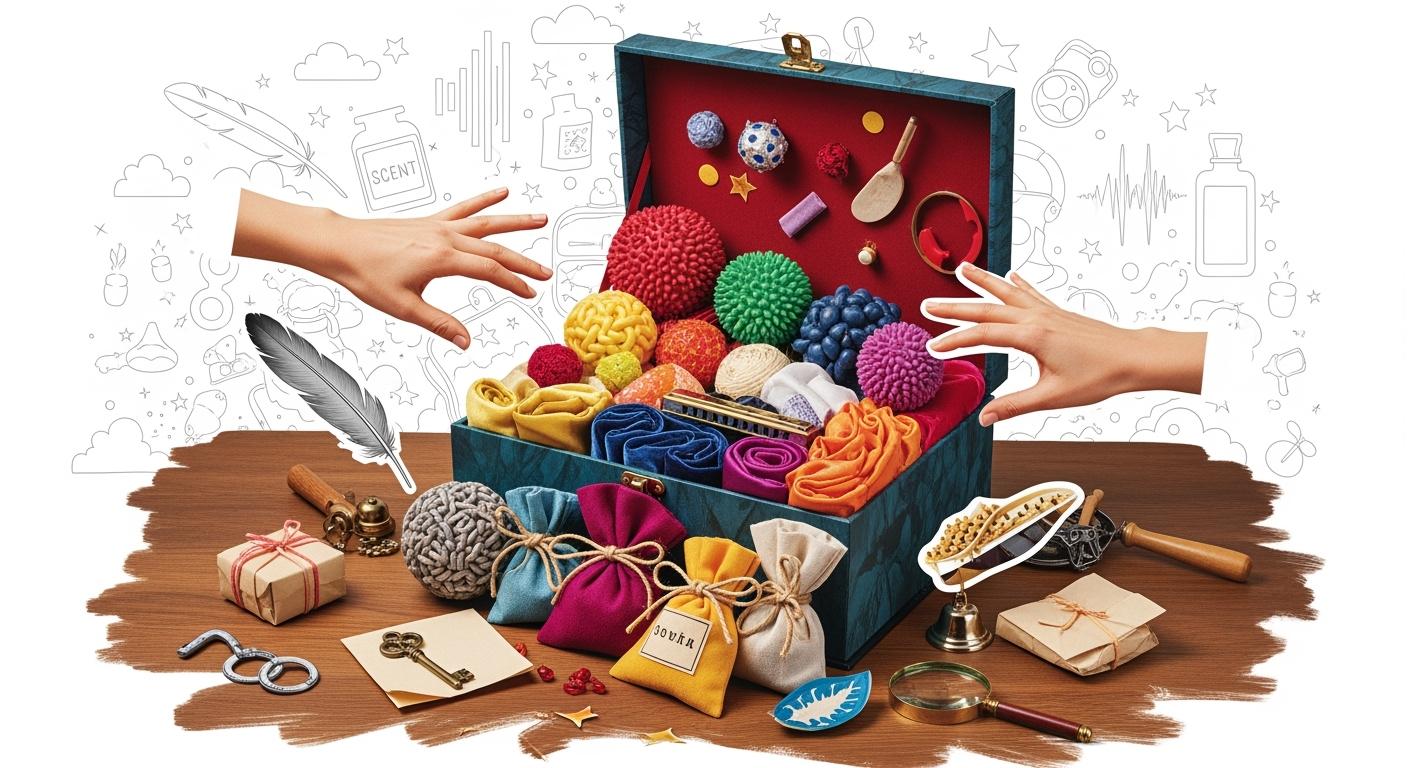
Selecting Sensory Bin Fillers
Now comes the fun part—choosing what goes inside your sensory box. Fillers are the heart of sensory bins. They give kids new textures, colors, and even sounds to explore. If you want to know how to make a sensory bin that is safe and exciting, start with age-appropriate fillers.
For toddlers and preschoolers, you can use:
Pom-poms, cotton balls, or shredded paper for a soft feel.
Kinetic sand or playdough for squishy fun.
Large beads, sponges, or plastic eggs for easy grabbing.
Fabric scraps, feathers, or yarn for different textures.
Plastic building blocks, mini cars, or animal toys for pretend play.
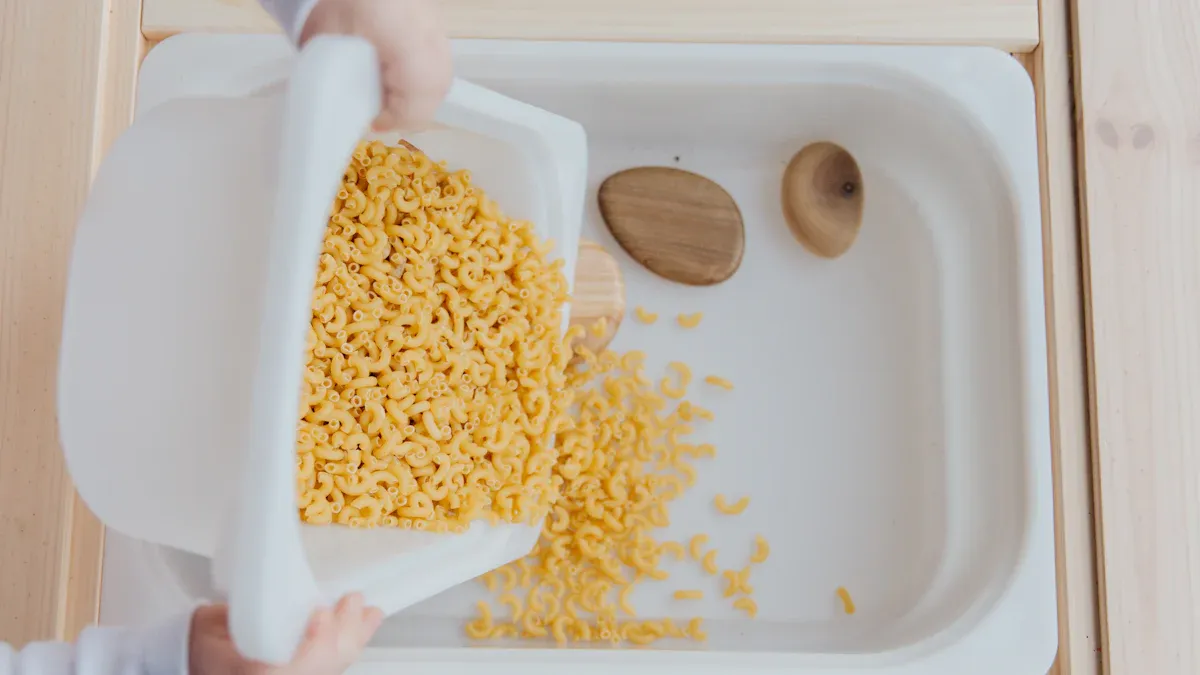
If you want to use food-based fillers, try:
Dry rice, beans, or oats for scooping and pouring.
Cooked spaghetti or oatmeal for a gooey experience.
Cheerios, Goldfish crackers, or puffed rice for safe snacking and play.
Always check the fillers for choking hazards. For babies and young toddlers, stick to large items that cannot fit in their mouths. For older kids, you can add smaller items like buttons or small toy figures. If you want more sensory bin ideas, try mixing different fillers for new experiences.
Note: Supervise children during sensory play, especially if you use small parts or food items.
Once you have your container and fillers, add some tools like cups, funnels, or scoops. You can also pick a theme, like ocean, farm, or construction, to make your diy sensory bins even more fun.
If you follow these steps, you will know how to make a sensory bin that is safe, creative, and perfect for kids of all ages. Sensory bins help children learn and explore the world in a hands-on way. Try new ideas and see what your child enjoys most!
DIY Sensory Box Materials
Safe And Non-Toxic Choices
You want your bins to be safe and fun. Start with materials that you know are non-toxic and washable. Food-grade items work best for messy play. You can use dry rice, pasta, or oats. These fillers clean up easily and feel great in little hands. Washable paint and homemade dough also make great choices. You can relax knowing your sensory box is safe for kids who like to taste or touch everything.
Here are some top picks for safe fillers:
Dry rice or beans (food-grade)
Homemade playdough
Washable paint
Cooked pasta or oats
Water with a drop of food coloring
Tip: Always check the packaging for “non-toxic” labels. If you make your own fillers, use simple kitchen ingredients.
Age-Appropriate Tools And Toys
You want bins that match your child’s age and skills. For toddlers, choose large scoops, chunky cups, and big blocks. These tools help small hands grip and pour. For preschoolers, add tongs, funnels, and measuring spoons. These items build fine motor skills and keep play interesting.
Here’s a quick table to help you pick tools for your bins:
Age Group | Best Tools for Bins |
|---|---|
Toddlers | Large cups, scoops, big blocks |
Preschoolers | Tongs, funnels, measuring spoons |
Early Elementary | Small figures, tweezers, mini cars |
You can add themed toys to your bins. Try plastic animals, boats, or pretend food. These items spark imagination and keep children engaged. Always check for choking hazards before you add anything new.
Note: Supervise play, especially with small parts. Swap out tools as your child grows to keep bins fresh and safe.
With the right materials, your bins will offer hours of safe, creative play. You can mix and match tools and fillers to fit your child’s needs and interests.
Adding Variety To Sensory Bins
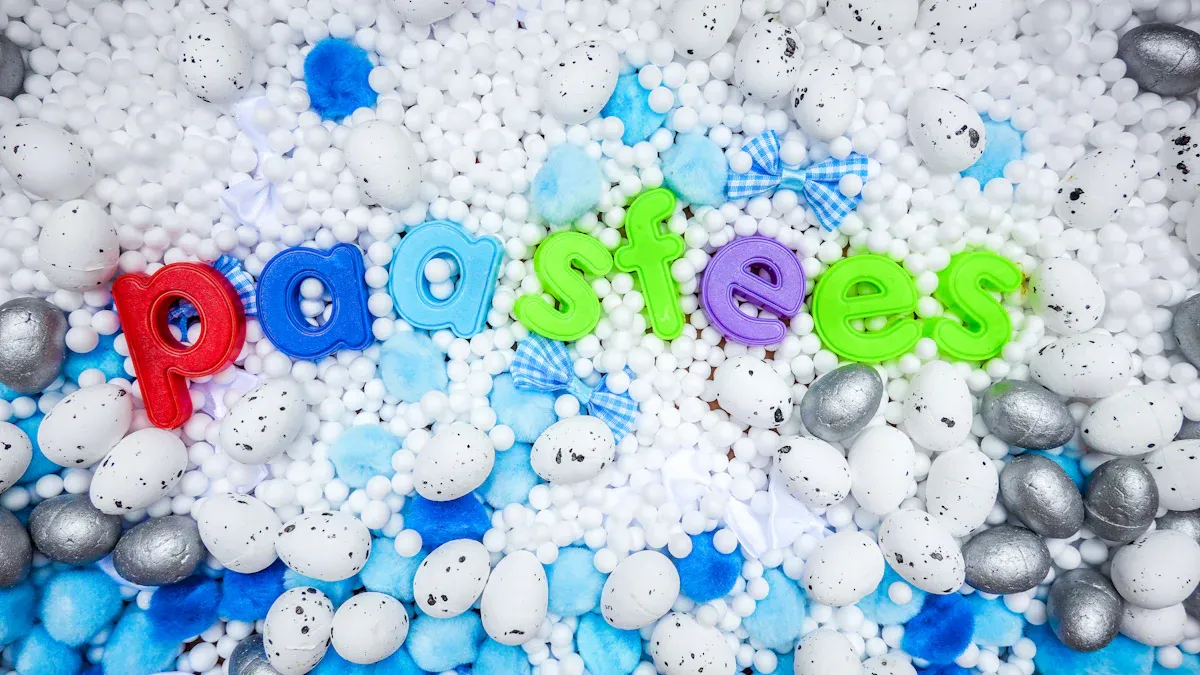
Textures, Colors, And Scents
You can make sensory bins more exciting by mixing up textures, colors, and scents. Kids love to touch, see, and smell new things. When you add variety, you help your child’s brain grow. Engaging many senses during play boosts memory and learning. You can use soft, rough, squishy, or slippery materials. Try adding bright colors or gentle scents to spark curiosity.
Kinetic sand feels moldable and fun to squeeze.
Water beads give a slippery, bouncy sensation.
Colored rice adds a pop of color and a crunchy sound.
Dried beans or pasta offer different shapes and textures.
Lavender or citrus scents can make playtime relaxing or energizing.
Understanding how children process sensory input helps you pick the best materials for your bins. When you use different sensory elements, you keep your child interested and learning.
You can find many sensory bin ideas online or create your own. Try mixing materials for a new experience each time. Sensory bins are perfect for hands-on learning and exploration.
Rotating Themes And Items
Kids get bored if bins stay the same for too long. You can keep things fresh by rotating themes and items every one to three weeks. Watch your child’s excitement. If they lose interest, it’s time for a change. You might swap out toys every couple of weeks to keep playtime fun and not overwhelming.
Themed bins like dinosaurs, ocean, or outer space make play more engaging.
Activities such as pouring, scooping, and sorting help build sorting and categorization skills.
Materials like rice, beans, or water beads offer new textures for each theme.
Mud and messy play areas give kids a chance to experiment and get creative. Let your child explore freely and try new ideas.
You can use a table to plan your rotations:
Week | Theme | Main Fillers | Tools/Toys |
|---|---|---|---|
1 | Ocean | Blue water beads | Boats, sea animals |
2 | Construction | Kinetic sand | Trucks, scoops |
3 | Garden | Dried beans | Bugs, shovels |
Switching up your sensory box keeps your child excited and supports their learning. Try new bins and see what your child enjoys most.
Sensory Box Safety & Clean-Up
Allergen-Free And Easy-To-Clean Options
You want sensory bins that keep play safe and simple. Start by picking fillers that don’t trigger allergies. Many parents choose dry rice, pasta, or silicone beads because these options rarely cause reactions. If you know your child has allergies, skip food-based fillers and use items like natural rubber or BPA-free plastics. These materials clean up fast and don’t leave residue.
Here’s a quick list to help you pick safe fillers for your bins:
Look for certifications from trusted groups like ASTM or EN71.
Choose non-toxic and sturdy materials for all sensory bins.
Opt for silicone, natural rubber, or BPA-free plastics.
Pick fillers that you can rinse or wipe down easily.
You can make clean-up easier by using washable containers. Try bins with smooth surfaces so nothing sticks. If you use water or messy fillers, line your bins with a tray or towel. That way, you catch spills and save time.
Tip: Always check labels for allergy warnings before you add new items to your sensory bins.
Storage And Maintenance Tips
You want your sensory bins to last. Good storage keeps bins fresh and ready for play. Use containers with tight lids to keep out dust and bugs. Stackable bins save space and make it easy to switch themes. Label each bin so you know what’s inside.
Here’s a table with simple storage ideas:
Storage Tip | Why It Helps |
|---|---|
Use tight lids | Keeps fillers clean |
Stack bins | Saves space |
Label bins | Easy to find themes |
Wipe bins weekly | Prevents mold and odors |
Rotate your sensory bins every few weeks. This keeps play exciting and lets you check for broken toys or dirty fillers. If you spot damage, swap out the item right away. You keep play safe and fun for kids.
Note: Store bins in a cool, dry place to avoid moisture and mold.
Sensory bins give you endless ways to play and learn. With smart safety steps and easy clean-up, you create a space where kids can explore without worry.
Budget-Friendly DIY Sensory Bins
Using Household Items
You do not have to spend much money to make diy sensory bins that are fun. Look around your house for things you already own. Many items work well for homemade sensory bins. Kids like to play with things from home. You can use dried rice or pasta as the base. Plastic mixing bowls and measuring cups are good for scooping and pouring. Cardboard boxes can turn into dens or rocket ships for pretend play. Treasure baskets with safe objects let kids touch and explore. Wooden spoons give texture and make pretend cooking more fun. Empty containers can be filled with beans or beads to make sound activities. Fabric scraps give different textures for kids to feel.
Here’s a table with common household items for diy sensory bins:
Household Item | Use in Sensory Bins |
|---|---|
Plastic mixing bowls | Exploring size and stacking |
Cardboard box | Imaginative play (den, rocket ship, etc.) |
Treasure basket | Safe, interesting objects for sensory play |
Dried rice, pasta | Base material for scooping and pouring |
Wooden spoons | Tools for pretend cooking and texture play |
Measuring cups | Encourages exploration and measurement |
Fabric scraps | Different textures for sensory exploration |
Empty containers | Sound activities with rice, beans, or beads |
Tip: Mix and match these items to make new sensory bins. You can find lots of ways to play without spending much money.
Eco-Friendly And Reusable Ideas
You can make diy sensory bins that are good for the earth. Pick items you can use again and again. Try silicone beads, natural rubber toys, or recycled containers. These things last longer and make less trash. Homemade sensory bins with eco-friendly fillers like dried beans or pasta can go in the compost after play. You can change themes and use bins for new activities. If you want to save money and help the planet, choose washable and strong items. Store bins in stackable containers so you can switch them out easily.
Callout: Eco-friendly diy sensory bins show kids how to care for the earth while they play. You get to be creative, save money, and help the planet at the same time.
You do not need fancy supplies to make sensory bins fun. Use what you have, try new ideas, and watch your kids play with excitement.
Encouraging Play And Learning With Sensory Bins
Guided Activities And Open-Ended Play
Sensory bins can be used for guided activities or open-ended play. Guided activities let you show your child new ways to play. You can ask your child to scoop, pour, or sort things by color or size. These activities help your child pay attention and learn new skills. You can set up a science experiment. Ask your child to guess which items will sink or float in water bins.
Here’s a table that explains how sensory play helps learning:
Benefit of Sensory Play | Description |
|---|---|
Kids use their eyes and hands together. This helps with writing and drawing. | |
Scientific thinking | Kids make guesses and predictions. This builds logical thinking for school. |
Open-ended play lets your child use their imagination. You can watch your child make up games or stories with the bins. This kind of play helps your child be creative and solve problems.
Sensory bins with different textures help kids explore by touch. They also help kids learn to sort and group things. This builds thinking and science skills.
You can try new diy ideas or let your child choose what to do. Both guided and open-ended sensory activities help kids learn and grow.
Supporting Developmental Skills
Sensory bins do more than keep kids busy. They help your child build skills for school and life. Using bins with different textures and tools helps fine motor skills, language, and social skills.
Check out this table to see what skills sensory bins help:
Developmental Skill | Description |
|---|---|
Hand-eye coordination | Kids use their eyes and hands together. This helps with writing and drawing. |
Tactile discrimination | Kids learn to use their fingers and hands better. This helps with tasks like buttoning clothes. |
Descriptive language | Kids learn new words and ways to talk about what they feel. |
Sharing and turn-taking | Kids learn to play with others and take turns. |
Sensory diet development | Kids learn ways to calm down and join in at school. |
You can see big changes in fine motor skills when you use bins often. Here are some ways sensory bins help:
Cutting with scissors makes hand muscles stronger.
Painting with brushes helps kids hold pencils better.
Tearing paper or using play dough builds hand strength.
Stringing beads and using tweezers helps kids be careful and patient.
Drawing in bins helps kids go from scribbling to making pictures.
Using sensory bins helps kids learn, create, and make friends. Try new activities and watch your child grow with every scoop, pour, and squeeze.
You now know how to make sensory bins that help kids learn. Sensory bins let children explore textures, colors, and scents. They also help build fine motor skills and science thinking. Try new sensory bin ideas and change themes often. Watch your child become more confident as they play. Here is a simple checklist to help you start:
Item Type | Description |
|---|---|
Sensory toys | Bottles, mirrors, bead drums, water mats, foil blankets, bubbles, tunnels |
Play mats | Soft, foldable mats for play anywhere |
Pick your favorite sensory box and fill it with fun ideas. Let your child play and enjoy every moment!
FAQ
What age is best for sensory bins?
You can start using bins with babies as young as six months. Always pick large, safe items for little ones. Older kids love them too. Just change the tools and fillers as your child grows.
How do I keep sensory bins clean?
You can wipe out the container after each use. Wash toys and tools with warm, soapy water. For dry fillers, store them in a sealed bag or box. This keeps everything fresh and ready for next time.
Can I use food in sensory bins?
Yes, you can use food like rice, pasta, or oats. Always check for allergies first. Supervise young kids so they do not eat too much during play. Food-based bins are easy to clean and safe for most children.
What if my child puts things in their mouth?
Stay close during play. Choose large, non-toxic items for young kids. If you worry about choking, skip small parts and use edible fillers. You can always switch to water or fabric for safe sensory fun.
How do sensory bins help my child learn?
Skill Built | How It Helps Kids |
|---|---|
Fine motor skills | Scooping and pouring |
Language | Talking about textures |
Social skills | Sharing and turn-taking |
You help your child learn by letting them explore, talk, and play with sensory bins.
See Also
Easy Ways to Create an Engaging Sensory Space
Top 10 Vibrating Sensory Toys for Every Explorer
Enhance Your Sensory Room with 20 Essential Tools