LED infinity mirror cube easy steps for sensory fun
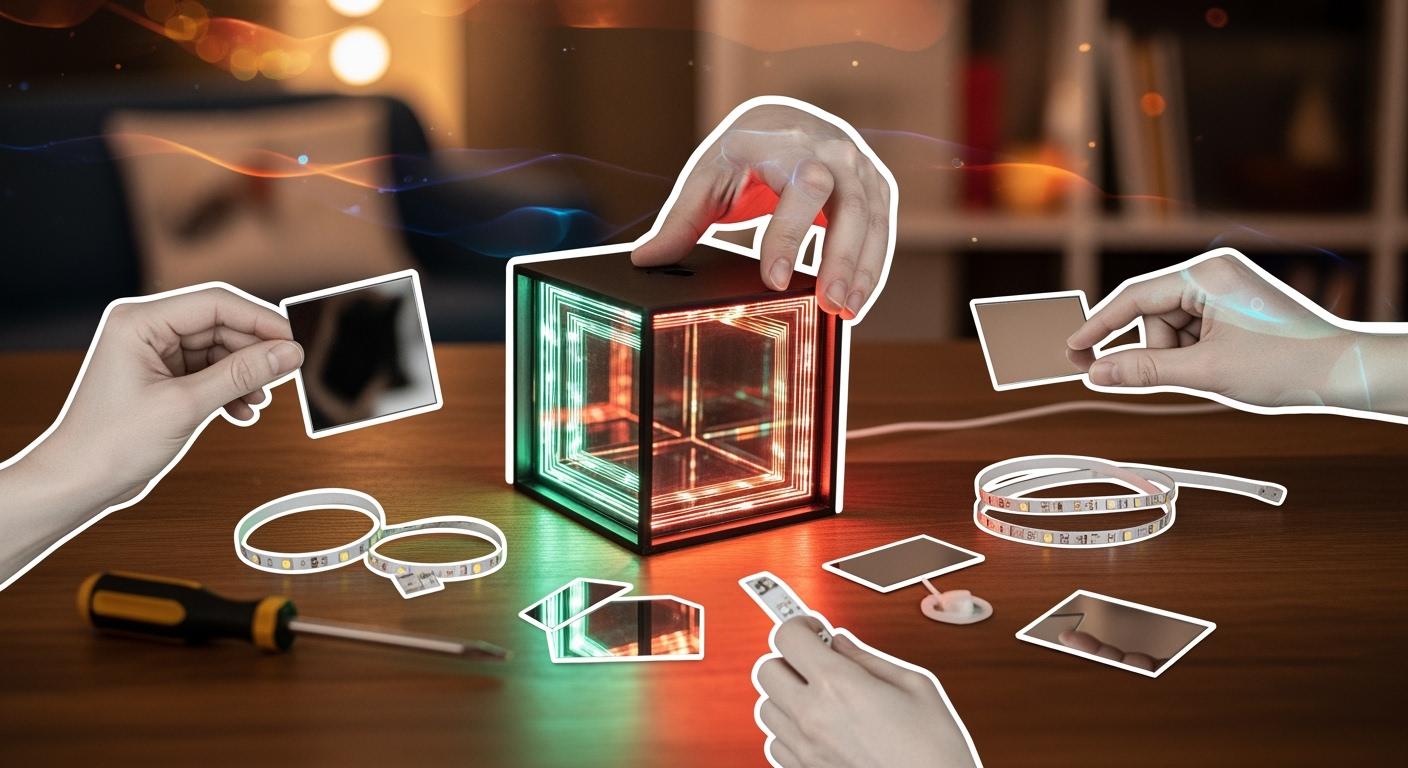
You can make a led infinity mirror cube for sensory play with just a few easy steps. First, gather your mirrors, frame, and LED strips. Next, build the cube, install the lights, and seal it up. The glowing lights and endless reflections create amazing visual effects. Try adding glitter or a floating mirror for extra fun. The LED Infinity Cube can boost creativity and calm your mind. This project works great for beginners and DIY fans.
Key Takeaways
Collect important items like mirrors, LED strips, and a frame to begin your LED infinity mirror cube project. Make sure you have everything you need before you start. Cut the mirrors to the right size and glue them tightly for the best look. Build your cube by following easy steps. Pick color-changing LED strips to make the cube more interesting and fun. This will help you feel creative and calm. Remember to stay safe by wearing gloves and goggles while you work. This will keep you from getting hurt. Try different fun and relaxing things with your cube. Your cube can be used in many ways for both fun and relaxation.
Materials and Tools
What You Need
You want your LED infinity mirror cube to shine and sparkle. Start with the right materials. Here’s a quick list to help you get started:
Regular mirrors: These create the main reflections inside your cube.
One-way mirrors (also called two-way mirrors): These give the infinity effect. You can use acrylic or glass versions.
LED strips: Pick color-changing strips like Govee for extra sensory fun. You can choose strips with remote control or app features.
Cube frame materials: Acrylic sheets work well. You can also use wood or plastic for the frame.
Glitter: Add a sprinkle for extra sparkle and visual stimulation.
Floating mirror or Rubik’s Cube theme: Try these for creative enhancements and unique sensory effects.
Tip: If you want your cube to look magical, mix glitter with the mirrors or use a floating mirror design.
Tool Checklist
You need some basic tools to build your cube. Most DIY guides suggest these tools for easy assembly:
Tape: Helps hold panels in place while you work.
Glue: Secures mirrors and frame parts.
Scissors: Cuts tape, glitter packets, or LED strips.
Soldering iron and accessories: Useful for connecting LED wires. Many guides recommend this for a strong electrical connection.
Laser cutter: Great for etching acrylic panels if you want custom designs.
Tiny flat-head screwdriver: Handy for screw terminals on LED controllers or sensors.
Drill with a spade bit: Optional, but helpful if you add a PIR sensor for motion activation.
Safety gear: Wear gloves and goggles to protect your hands and eyes.
You don’t need fancy equipment. Most tools are easy to find at home or in a hardware store. If you’re new to soldering, you can use LED strips with connectors instead. Safety gear keeps you comfortable and protected while you build.
Note: Always check your workspace for sharp edges and keep your tools organized. This makes the project safer and more fun.
led infinity mirror cube build steps
Prep Mirrors and Panels
You want your led infinity mirror cube to look sharp and magical. Start by cutting your mirrors and panels to the right size. Most people use 60mm x 60mm squares for each side. Here’s a quick reference:
Mirror Size |
|---|
60mm x 60mm |
Pick your mirror types carefully. You need regular mirrors for the back and one-way mirrors for the front and sides. The type of mirror you choose changes how deep and clear the infinity effect looks.
Glass and acrylic mirrors give different results. Glass is super clear, but acrylic is lighter and safer.
The rear mirror bounces all the light back, making the reflections stronger.
The front mirror lets some light out and reflects the rest, which makes the cube look deeper.
High-quality mirrors with protective coatings keep your reflections crisp and last longer.
If you want to add a floating mirror or a Rubik’s Cube theme, now is the time to plan your designs. You can etch patterns or shapes onto the panels for extra sensory fun.
Tip: Sprinkle a little glitter on the inside of your panels before you seal them. This adds sparkle and makes the led infinity mirror cube even more exciting.
Assemble Cube Frame
Now, you need to build the frame that holds everything together. Choose a material that is both strong and light. Here’s a quick look at your best options:
Material | Durability | Weight |
|---|---|---|
Acrylic | High | Lightweight |
Treated Glass | High | Lightweight |
Acrylic is easy to cut and glue, so it’s perfect for beginners. Lay out your panels and use tape to hold them in place. Glue the edges together, making sure everything lines up. Let the glue dry before you move on.
If you want a floating mirror effect, use clear acrylic for the frame. This makes the mirrors look like they’re suspended in mid-air. For a Rubik’s Cube style, use colored panels or stickers on the outside.
Add LED Strips
This is where the magic happens. Stick your LED strips along the inside edges of the cube. Make sure the lights face inward so they bounce between the mirrors. Choose LED strips with gentle, flowing color transitions. These are perfect for sensory play.
Here’s what to look for in your LED strips:
Specification | Details |
|---|---|
Brightness Control | 6 light settings with controls for brightness and speed |
Color Options | Gentle transitions between blue, green, and red |
Benefits | Gentle visual stimulation, helps with visual tracking |
Recommended Age | Ages 3+ |
You can use remote-controlled or app-controlled strips for more options. If you want extra sparkle, add color-changing LEDs or sprinkle glitter near the lights.
Wire and Power LEDs
Next, connect your LED strips to a power source. Most led infinity mirror cube projects use either 5V or 12V weatherproof power supplies. These keep your lights bright and safe.
Voltage | Power Supply Type | Description |
|---|---|---|
12V | Weatherproof | Evenly distributes current |
5V | Weatherproof | Evenly distributes current |
If you want to add sensors or sound effects, you might need a converter to step down the voltage. Use a soldering iron for strong connections, or use clip-on connectors if you’re new to wiring.
Note: Always double-check your wiring before you plug in your led infinity mirror cube. This keeps you safe and protects your project.
Seal and Finish
You’re almost done! Seal the edges of your cube with glue or clear tape. This keeps dust and fingers out. Use high-quality materials and protective coatings to keep your mirrors scratch-free and shiny.
Aspect | Description |
|---|---|
High-Quality Materials | Glass and acrylic mirrors with protective coatings last longer. |
Protective Coatings | Keep reflections crisp and extend the cube’s lifespan. |
LED Performance | LEDs last 45,000 to 50,000 hours for long-lasting fun. |
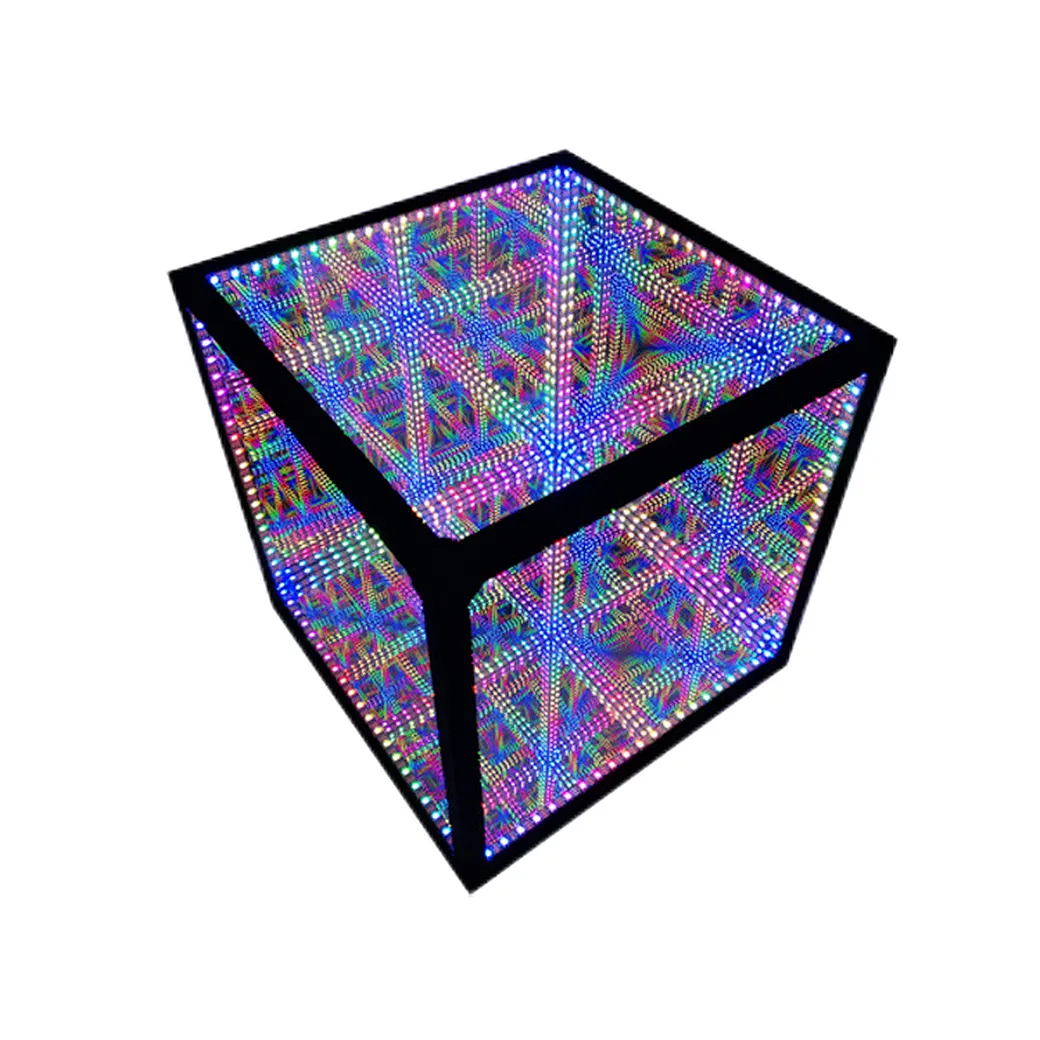
Let everything dry and set before you turn on your led infinity mirror cube. Now, you can enjoy endless reflections, sparkling lights, and a sensory experience that feels out of this world!
Tip: Try your cube in a dark room for the best infinity effect. Move it around and watch the colors and reflections change.
Safety Tips
Building your LED infinity mirror cube is exciting, but you want to stay safe every step of the way. Let’s walk through some easy tips to keep your project fun and accident-free.
Assembly Safety
You handle mirrors, wires, and tools, so safety matters. Here’s what you can do:
Wear gloves when you cut or glue mirrors. Sharp edges can scratch or cut your skin.
Use goggles to protect your eyes from flying bits, especially if you drill or solder.
Keep your workspace clean. A tidy area helps you avoid tripping or knocking things over.
Tape the edges of mirrors before you start. This reduces the risk of cuts.
If you use a soldering iron, never touch the metal tip. It gets hot fast and can burn you.
Work in a well-ventilated space. Glue and soldering can release fumes.
Tip: Ask an adult for help if you’re unsure about using tools or handling electrical parts.
Here’s a quick safety checklist for assembly:
Task | Safety Gear Needed | Extra Advice |
|---|---|---|
Cutting mirrors | Gloves, goggles | Tape edges before handling |
Soldering wires | Goggles | Keep water nearby for safety |
Gluing panels | Gloves | Ventilate your workspace |
Safe Use
Once your cube is built, you want it to be safe for everyone, especially kids. Here’s how you can make your cube child-friendly:
Seal all edges with glue or tape. This keeps sharp parts hidden.
Use low-voltage LED strips. They stay cool and use less power.
Check wires for loose connections. Secure them so nothing pops out.
Place your cube out of reach of small children if you use glass mirrors.
Avoid placing the cube near water or damp areas.
Note: Always unplug your cube before cleaning or moving it.
You create a safe and fun sensory toy when you follow these tips. Enjoy your glowing infinity mirror cube with peace of mind! 😊
Sensory Play Ideas
Interactive Play
You can use your LED infinity mirror cube for all kinds of interactive fun. Kids love to watch the lights bounce and change colors. Try placing the cube on a table and let everyone take turns pressing the remote or tapping the app to switch colors. You can even play games like “find the glitter” or “count the reflections.” If you add a motion sensor, the cube lights up when someone walks by. This makes it perfect for group play or parties.
Want to take your cube on the go? You can! LED infinity mirror cubes are easy to move around. Many cubes use built-in lithium-ion batteries, so you get 4 to 12 hours of cordless play. You can also charge your cube with USB-C or micro-USB cables. Plug it into a laptop or a power bank for quick charging. Some cubes even use solar panels, so you can play outside and let the sun do the work.
Power Option | Description |
|---|---|
Built-in Lithium-ion | Offers 4–12 hours of cordless operation on a single charge, enhancing portability. |
USB-C/micro-USB | Allows convenient charging using various devices like laptops and power banks. |
Solar Panels | Eco-friendly option that charges during the day and operates automatically at dusk, ideal for outdoor use. |
You can bring your cube to a friend’s house, a classroom, or even outside for a picnic. The cube fits right into sensory rooms, too. It adds a cool, glowing centerpiece that everyone wants to touch and explore.
Calming Activities
Your LED infinity mirror cube isn’t just for play. You can use it to relax and unwind. Try turning off the room lights and watching the gentle colors shift inside the cube. The endless reflections help your mind slow down. Many people use the cube for calming routines before bed or during quiet time.
You can set the lights to soft blues and greens for a peaceful mood. If you add glitter, the sparkles float and shimmer, making the cube even more soothing. Some people like to hold the cube in their hands and breathe slowly while watching the lights. This helps you feel calm and focused.
Tip: Place your cube near your favorite chair or reading spot. Use it during homework breaks or when you need a moment to reset. The cube’s gentle glow can help you feel safe and comfortable.
You can use your LED infinity mirror cube in many ways. Try new ideas and see what works best for you!
Troubleshooting
Common Issues
Sometimes, your LED infinity mirror cube might not work as planned. Don’t worry! You can fix most problems with a few simple checks. Here are some common issues you might see:
LEDs won’t turn on: You press the button, but nothing lights up.
Flickering lights: The LEDs blink or flash when they should stay steady.
Weak reflections: The infinity effect looks dull or faded.
Loose panels: The cube feels wobbly or comes apart easily.
Colors look wrong: The lights show the wrong color or don’t change as expected.
Tip: Always check your cube in a dark room first. Sometimes, bright light hides the infinity effect.
Here’s a quick table to help you spot what’s wrong:
Problem | Possible Cause |
|---|---|
No lights | Power not connected |
Flickering | Loose wires or weak battery |
Dull reflections | Dirty mirrors or wrong setup |
Wobbly cube | Not enough glue or tape |
Wrong colors | Controller set incorrectly |
Quick Fixes
You can solve most problems with a few easy steps. Try these quick fixes:
Check the power: Make sure the plug fits tight. Try a different outlet or battery if needed.
Tighten connections: Push all wires and connectors in firmly. Loose wires cause flickering.
Clean the mirrors: Wipe the mirrors with a soft cloth. Dust or fingerprints make reflections look weak.
Add more glue or tape: If the cube feels loose, add extra glue or tape to the edges.
Reset the controller: Turn the LED controller off and on. If you use a remote, replace the batteries.
Test the LEDs: Swap out the LED strip for another one if nothing works. Sometimes, strips arrive faulty.
Note: If you still have trouble, ask a friend or adult for help. Sometimes, a second pair of eyes spots the problem fast.
You can get your LED infinity mirror cube shining bright again with just a little patience and these simple steps!
You now know how to make a led infinity mirror cube from start to finish. Gather your materials, build the frame, add the lights, and seal it up. You get a cool sensory tool that sparks creativity and helps you relax. Try new designs or add your own twist. Share your led infinity mirror cube with friends or online. Inspire others with your ideas!
FAQ
How long does it take to build an LED infinity mirror cube?
You can finish your cube in about 2 to 4 hours. If you add extra features like glitter or a floating mirror, you might need a little more time. Take breaks if you need them!
Can I use any LED strip for this project?
You should pick flexible LED strips that fit inside your cube. Color-changing strips work best for sensory play. Make sure the strip matches your power supply. Some strips come with remotes or apps for easy control.
Is the cube safe for young kids?
If you seal all edges and use acrylic mirrors, your cube stays safer for kids. Always check for loose wires or sharp spots. Keep the cube out of reach if you use glass mirrors.
What if my cube does not light up?
Check your power supply first. Make sure all wires connect tightly. Try a different outlet or battery. If it still does not work, test your LED strip with another power source.
Can I make a bigger or smaller cube?
Yes! You can change the size of your cube. Just cut your mirrors and frame to the size you want. Bigger cubes need longer LED strips and more power.
See Also
Easy Suggestions for Creating a Sensory Space
Magical Experiences with Bubble Tubes in Sensory Rooms
Innovative Ideas to Promote Learning Using Sensory Mats