How to Choose the Best STEAM Supplies for Your Classroom in 2026
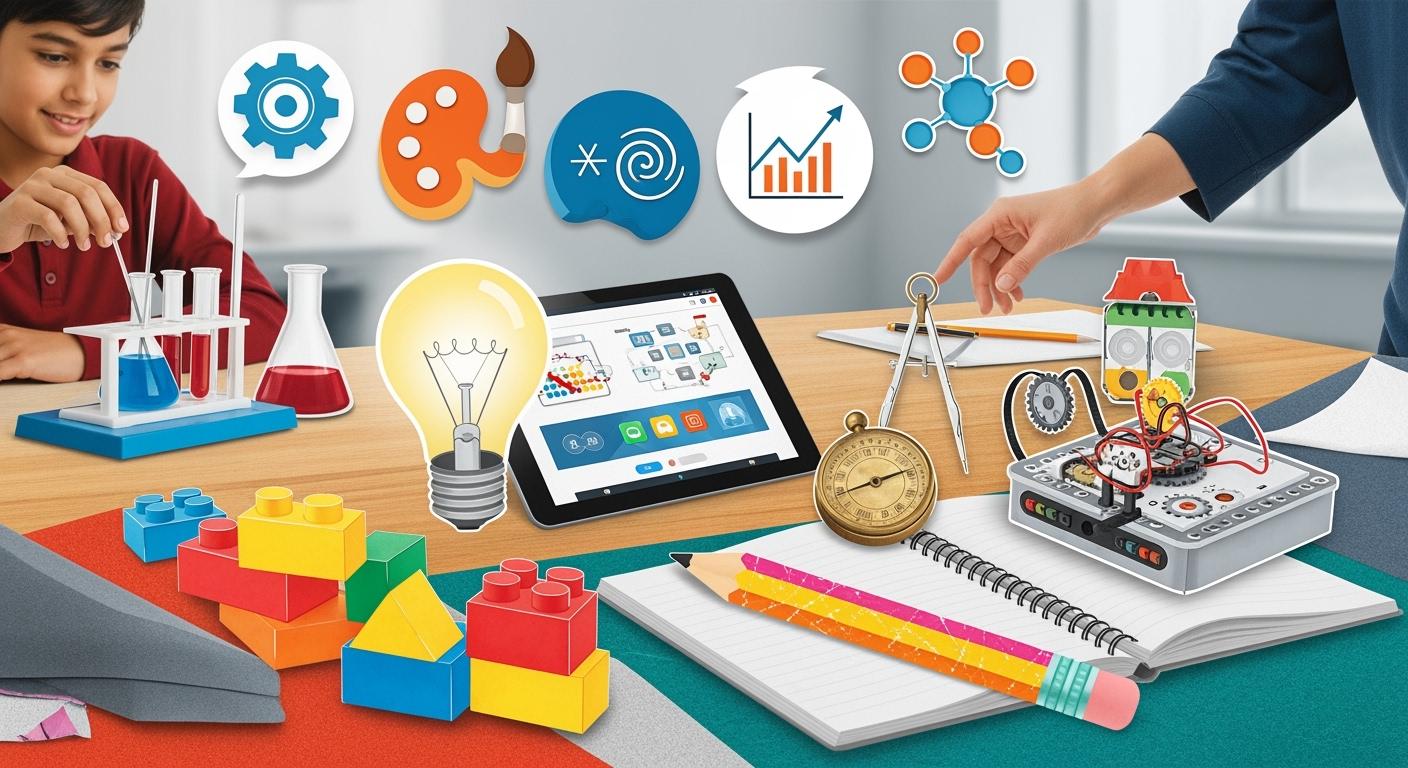
Imagine you walk into your classroom and see students excited to build, create, and explore. You want to pick steam supplies that match your lessons, fit your students’ ages, and last through many hands-on projects. You might wonder if a STEAM Toy will spark creativity or if it will just end up forgotten. Ask yourself what your students need most. Make choices that help your classroom stay ready for the future.
Key Takeaways
Figure out what your classroom needs before picking STEAM supplies. Think about how old your students are, what they need to learn, and how big your class is.
Pick materials that are safe and right for your students’ ages. Make sure the supplies help keep everyone safe and interested.
Use hands-on and creative tools that let students explore. Supplies should make students curious and help them build and solve problems.
Choose materials that last a long time and can be used again. Buy strong supplies so you can use them for many projects and save money.
Check your supplies often and update them when needed. Learn about new ideas and ask students what they think to keep your class fun.
Identify Classroom Needs
Choosing the right STEAM supplies starts with understanding what your classroom needs most. Every classroom is different. You should think about your students, your goals, and your space before you buy anything.
Grade Level & Age
Students at different ages need different tools. Younger children learn best with simple, hands-on materials. Older students need more advanced tools to challenge their thinking. The table below shows how grade level affects the choice of STEAM supplies:
Grade Level | STEAM Supplies Description |
|---|---|
Early Childhood | Engaging resources that cater to the developmental stages of young learners. |
Elementary School | Products that promote active learning and foundational skills in STEAM subjects. |
Secondary School | Advanced tools that maintain interest and help students grasp complex concepts. |
You should match the supplies to your students’ ages. This helps everyone stay safe and interested.
Subject Focus & Goals
Think about what you want your students to learn. Do you want them to build, code, or design? Your goals will guide your choices. For example, if you want students to learn about engineering, you might choose building sets. If your focus is on art, you might need more drawing or crafting materials.
Tip: Pre-planning your STEAM activities helps you pick the right supplies and saves time during lessons.
Classroom Size & Setting
Your classroom size and setup matter. A large class may need more supplies or materials that can be shared. A small group might work better with kits that encourage teamwork. You should also consider storage and how easy it is for students to access materials.
Many teachers say they need a variety of materials like cardboard, construction paper, and glue. Training and support for using new supplies also help you feel confident in your lessons.
When you know your classroom needs, you can choose STEAM supplies that make learning fun and meaningful.
Criteria for Choosing STEAM Supplies
When you pick STEAM supplies, you need to think about a few things. Each item should help your students learn and stay safe. It should also keep them interested. Use these tips to help you choose.
Curriculum Alignment
Check if your STEAM supplies match what you want students to learn. Supplies should fit your lesson goals and standards. Start by looking at your state or national standards for science, technology, engineering, art, and math. Then, see if your classroom tools help you meet these goals or if you need new ones.
Step | Description |
|---|---|
Find the right standards like ISTE, state technology, engineering, science, art, and math standards to help plan your lessons. | |
Assess your technology and resources | Look at what you already have in your classroom to see what can be used for STEAM lessons. |
You can use this table to see how experts say to check STEAM supplies:
Description | |
|---|---|
Learning Outcomes | Shows what students should learn from STEAM lessons. |
Engage | Gets students interested and excited. |
Explore | Lets students try things with their hands. |
Explain | Helps students understand ideas and steps. |
Elaborate | Lets students learn more and use what they know. |
Evaluate | Checks what students have learned and can do. |
Enact | Lets students use what they learned in real life. |
Tip: Pick supplies that help students try ideas and use them in real life.
Age-Appropriateness & Safety
Always choose STEAM supplies that are right for your students’ ages. Younger kids need bigger pieces and safe materials. Older kids can use harder tools. Safety is always important.
Pick STEAM toys made with safe materials.
Do not use toys with small parts for kids under 6.
Make sure finishes are safe.
Check for safety labels like CE, FCC, and RoHS.
Note: Safe supplies stop accidents and help students focus on learning.
Engagement & Creativity
Your STEAM supplies should make students curious and creative. Supplies that let students build, test, and solve problems are best. Fun activities like building towers, making lava lamps, or cleaning up oil spills help students think and work together. Projects that let students design things help them use their imagination and learn new skills.
Callout: Hands-on, creative supplies keep students interested and help them remember what they learn.
Durability & Reusability
Pick STEAM supplies that last a long time. Strong materials save money and make less trash. For example, the Strawbees STEAM Starter Kit has over 230 pieces you can use again and again. This kit is tough and works well for many classes.
Product Name | Features | Durability & Reusability | Price Range |
|---|---|---|---|
Strawbees STEAM Starter Kit | Has over 230 building straws and connectors, plus a learning platform | Very strong and reusable | Under $500 |
Tip: Reusable supplies help you grow your classroom collection.
Instructional Support
Good STEAM supplies often come with teaching tools. Look for kits with teacher guides, student handouts, tests, and step-by-step directions. These tools make it easier to plan lessons and help students do well.
Component | Description |
|---|---|
Teacher Guide | A guide for teachers to help with lessons. |
Student Handouts | Papers for students to help them learn. |
Assessments | Tools to check what students know. |
Answer Keys | Answers for teachers to grade work. |
Programming Procedures | Directions in PDF and video for programming. |
3D Models | Models you can print for hands-on work. |
Assembly Guides | Step-by-step directions for building kits. |
Some kits also have lesson plans, slides, and online tools.
Scalability & Flexibility
Your class size or needs might change during the year. Flexible STEAM supplies let you work with big or small groups. These supplies save time and money. They also help students with different skills and interests.
The best STEAM supplies let you change lessons for your students. As teaching changes, flexible supplies help you keep lessons fun and new.
Budget Considerations
You do not need to spend a lot of money to get good STEAM supplies. Start with simple things like cardboard, tape, and markers. Everyday items can be great for learning. Try DIY kits or ask families to give supplies. Many schools share supplies to save money.
Budget Tip: Make a list of what you need most and add more later. Pick supplies that last and can be used again.
Essential STEAM Supplies Checklist
Here is a checklist to help you start. Pick items that fit your students’ ages and what you want to teach:
Grade Level | Science Kits | Engineering Sets | Coding Tools | Art Materials | Math Manipulatives |
|---|---|---|---|---|---|
Early Childhood | ✔ | ✔ | ✔ | ✔ | |
Elementary School | ✔ | ✔ | ✔ | ✔ | ✔ |
Secondary School | ✔ | ✔ | ✔ | ✔ | ✔ |
Science Kits: Magnifying glasses, simple chemistry sets, plant kits
Engineering Sets: Building blocks, Strawbees, LEGO kits
Coding Tools: Simple robots, coding cards, programmable toys
Art Materials: Markers, colored paper, modeling clay
Math Manipulatives: Pattern blocks, measuring tapes, fraction tiles
Note: Start small and add more supplies as you learn what your students like.
Evaluating Educational Value and Scalability
When you pick STEAM supplies, think about how they help students learn and grow. Supplies that let students use their hands, be creative, and work together are best. Look for kits you can use in many ways and for different lessons. This helps your supplies last longer and reach more students.
Recommended STEAM Supplies
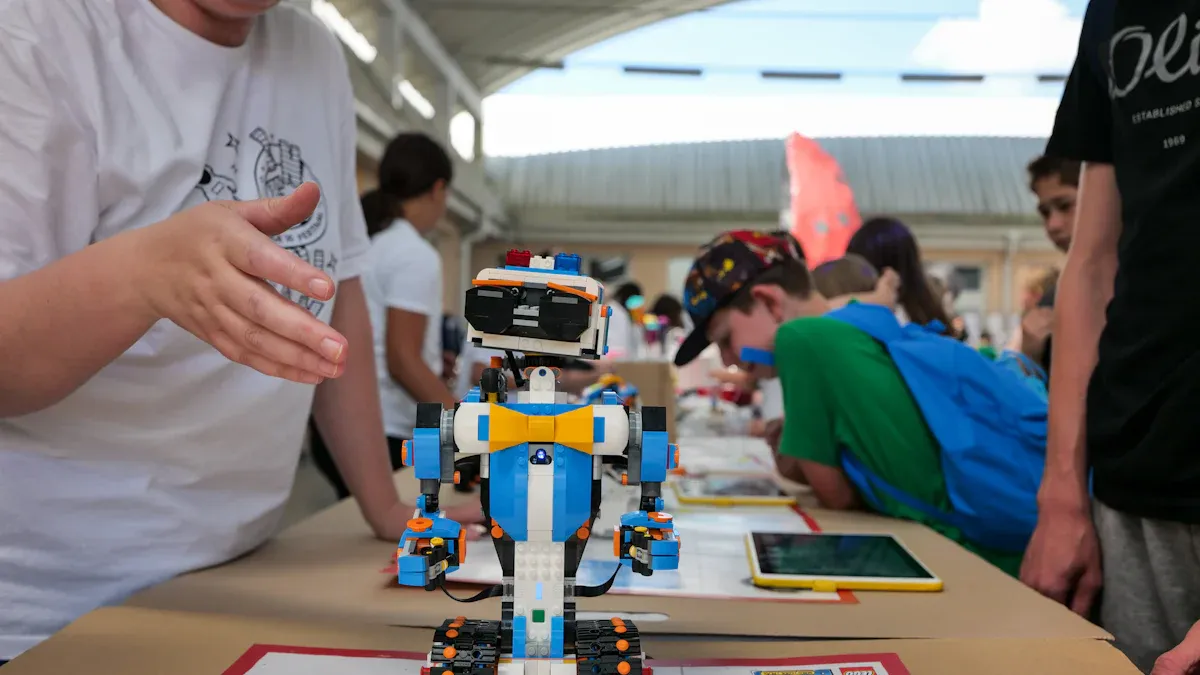
Robotics Kits
Robotics kits teach students about engineering and programming. There are many kits to pick from. Some kits are easy for beginners. Other kits are harder for advanced students. The table below lists popular kits and their main features:
Robotics Kit | Advantages | Disadvantages |
|---|---|---|
Makeblock mBot Ultimate | Works with Raspberry Pi and Arduino sensors. Supports advanced programming. Has a large online community. | Assembly is complex. Parts are not clearly marked. Beginners may need help. |
Nintendo Labo Robot Kit | Affordable. Easy to build. Uses cardboard for creative projects. | Needs a Nintendo Switch. Limited without it. |
Jimu Mythical Series: Robot Dragon | Fun and interactive for ages 8+. Boosts creativity and problem-solving. | Small parts. Assembly can be hard for younger students. |
Sillbird STEM 12-in-1 Education Robot | Many building options. Good for STEM learning. | May not interest older students. |
You can make simple robots with recycled materials and motors. This is a fun DIY way to learn.
Coding Tools
Coding tools help students solve problems and think clearly. You can use robots without screens or digital kits. Here are two great choices:
Bee-Bot Robot: Good for young students. You use buttons to program it. It helps with basic coding and reading.
Ozobot Evo: Good for older students. You can code with markers or on a screen. It gives feedback right away.
You can make coding cards or use free online games. These options save money.
Engineering Sets
Engineering sets let students build and test ideas. You can use kits or everyday things. The table below shows projects for different grades:
Grade Level | Engineering Project Description | Curriculum Goals Supported |
|---|---|---|
Grade 1 | Build an instrument that changes volume and pitch | Creativity, Problem-Solving |
Grade 4 | Design a robotic arm for Mars sample collection | Science Concepts, Collaboration |
Try projects like paper houses that stand up to tornadoes or beehive designs. Kits like Brilliant Builders (705 pieces) help students be creative and learn by doing.
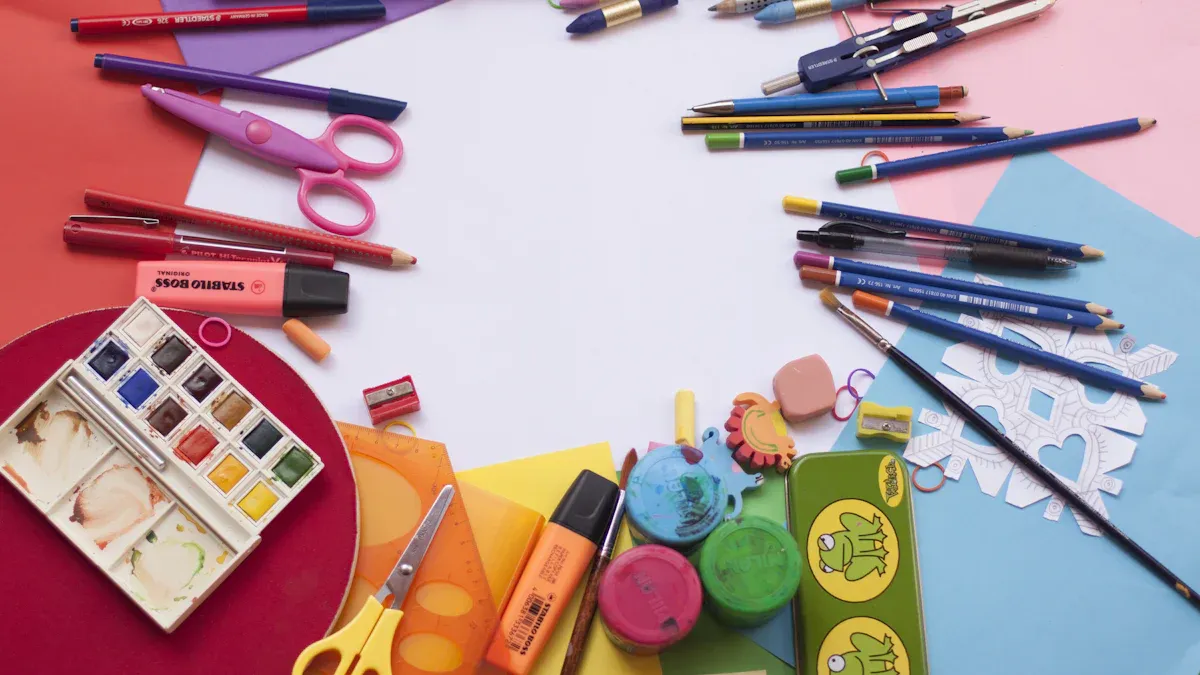
Art & Design Materials
Art and design materials help students share ideas and solve problems. You can use paper, markers, clay, and recycled things. The table below lists the benefits:
Material Type | Benefits |
|---|---|
Readily Available Materials | Easy to find. Supports art integration. |
Hands-On Learning | Boosts engagement. Allows experimentation. |
Inclusivity | Works for all learners. Helps everyone understand STEM concepts. |
Art projects help students focus, remember, and think creatively. You can use simple supplies or try digital art tools.
Science Kits
Science kits help students learn by asking questions and exploring. Many teachers use LEGO Education Science Kits for hands-on lessons. The table below shows features for each grade:
Science Kit | Grade Level | Key Features |
|---|---|---|
LEGO® Education Science Kit | K-2 | Adaptable lessons. Fits with curriculum. Hands-on activities. |
LEGO® Education Science Kit | 3-5 | Engaging questions. Meets diverse needs. |
LEGO® Education Science Kit | 6-8 | Focuses on engineering design. Real-world testing. |
Teachers say these kits are easy to use and keep students interested. You can also make your own science kits with things from home.
Math Manipulatives
Math manipulatives help students see numbers and shapes. You can use fraction tiles, circles, counting frames, bear counters, place value blocks, and geoboards. These tools make math ideas clear and easy to understand. The concrete-pictorial-symbolic method helps students move from objects to pictures and symbols.
Tip: Mix store-bought kits with DIY materials. This helps you build a strong set of steam supplies for your classroom.
Organizing STEAM Supplies
A neat classroom helps you teach STEAM better. When supplies are in order, you save time. It is easier for everyone to learn. You can move things around for different projects. Good organization helps you use your space well.
Storage Solutions
There are many ways to store STEAM supplies. Pick what fits your classroom best. The table below shows some good ideas:
Storage Solution | Description |
|---|---|
Adjustable Track Systems | Wall storage with tracks and bins. You can move shelves as your needs change. |
Wall-Mounted Shelving | Shelves and cabinets on the wall. Open shelves show supplies. Cabinets hide clutter. |
Pocket Organizers | Fabric or vinyl pockets for small items. These work for all grade levels. |
Overhead Storage Innovations | Uses ceiling space for items you do not use often. Includes suspended systems and overhead cabinets. |
Multi-Functional Furniture | Furniture that stores supplies and serves other uses. Great for small classrooms. |
Tip: Try using more than one storage idea. This keeps your classroom neat and supplies easy to find.
Labeling & Inventory
Labeling and tracking supplies helps you find things fast. It also helps you know what you have. The table below explains how a good system works:
Practice | Benefit |
|---|---|
Proper identification and labeling | You and your students can find and use materials correctly. |
Dates of purchase and delivery | You know how old your supplies are and avoid using expired items. |
Product name and details | You use the right product for each lesson. |
Amount and where to store | You keep your inventory organized and supplies easy to access. |
Note: Simple labels and a supply list help a lot.
Student Access & Responsibility
You can teach students to take care of STEAM supplies. Try these ideas:
Make clear rules for using and putting away supplies.
Let students use materials during projects to feel responsible.
Ask local businesses or experts to share real STEAM stories.
When students know the rules, they treat supplies with care.
Maintenance & Upkeep
Taking care of supplies keeps them working well. Use these steps:
Check important tools and kits often.
Clean and look at moving parts, like robot motors.
Store things in dry, safe places to stop damage.
Watch for signs of wear or problems early.
Taking care of your supplies helps them last longer and work better.
Updating STEAM Supplies
Gathering Feedback
You can make your STEAM classroom better by asking for feedback. Students know which supplies help them learn the most. Use short surveys or a suggestion box. Ask questions like, "Which kit did you like best?" or "What do you want to use next time?" You can also talk to other teachers and share ideas. This helps you learn what works in their classrooms. Family members might have good ideas, too.
Tip: Getting feedback often helps you pick supplies your students like and need.
Assessing Effectiveness
You need to see if your STEAM supplies help students learn. Try different ways to check how well they work. The table below shows some ways to measure if supplies are helpful:
Strategy/Resource | Description |
|---|---|
Thematic unit development | Connects subjects around fun topics. |
Project-based learning | Lets students use knowledge from many subjects. |
Real-world problem-solving | Shows what real jobs and challenges are like. |
Community partnerships | Brings learning into real life. |
Assessment approaches | Checks both subject skills and how they fit together. |
Performance-based evaluation | Looks at project work and presentations. |
Portfolio development | Tracks learning over time. |
Peer and self-assessment | Helps students think about their own work. |
Try more than one way to check. This gives you a better idea of how your supplies help learning.
Staying Current
You can keep your STEAM classroom up to date by learning about new tools and ideas. Many teachers join online groups or go to workshops. A study from the University of Michigan says teachers who care about fairness and use new ideas help all students feel welcome and excited about science. This way, your classroom is fair and modern.
Stay curious and try new things. Your students will enjoy learning about the newest trends.
Planning Upgrades
Plan upgrades by looking at what works and what needs to change. Make a list of supplies that should be replaced or updated. Set goals to add new tools or kits each year. You can also look for grants or ask your community for help to buy new things. Even small changes can make your classroom better.
Check your STEAM supplies every semester to keep your collection new and useful.
You can choose the best STEAM supplies by following a few key steps:
Start with your classroom needs.
Pick age-appropriate and safe materials.
Focus on hands-on and creative tools.
Build your collection over time.
Tip: Review your supplies each year. Stay updated with new trends and student interests.
You have the power to create an exciting STEAM classroom. Begin today and watch your students grow as problem solvers and creators!
FAQ
What are the most important STEAM supplies to start with?
You should begin with basic items like building blocks, simple science kits, art materials, and math manipulatives. These tools help you cover many lessons and activities. Add more advanced supplies as your students grow and your budget allows.
How can I keep STEAM supplies organized in a busy classroom?
Use clear bins, labels, and shelves. Assign each supply a spot. Teach students to return items after use. This keeps your space tidy and saves you time.
Are there budget-friendly ways to get STEAM supplies?
Yes! You can use recycled materials, ask families for donations, or create DIY kits. Many everyday items work well for STEAM projects. Look for grants or local business support to expand your collection.
How do I know if a STEAM kit is safe for my students?
Check the age recommendations and safety labels like CE or ASTM. Read reviews and instructions. Avoid small parts for young children. Always supervise students when they use new tools or kits.
See Also
Guidelines for Teachers to Choose Quality STEM Toys
Key Factors Teachers Consider When Selecting Science Kits
Investigating Practical Applications of STEM Learning Toys
Effective Strategies for Budget-Friendly School Supply Shopping